Cast Iron and the Smoked Chicken

. . . or Potjie Smoked Beer Bum Chicken
Here is a very simple and very delicious recipe for a smoked, roast chicken. First let’s look at what utensils/equipment we’ll need for this:
I use a “Number 3” Potjie. This refers to the size of the pot and in this case is big enough to fit a medium size chicken. I use a stainless steel cup and wire stand that holds the beer and serves to hold the chicken upright in the pot. The only other items are an eight inch diameter heavy duty foil pie dish and a hand full of your favorite wood chips for smoking.
The ingredients:
These are equally simple and straight forward:
*1 Medium chicken (Whole)
*Olive oil
*Salt & pepper – you can use whatever special spice rub you prefer with your chicken. We are rather partial to a little garlic powder . . .
*1 Can of beer
Prep and cooking:
While you can do it alone, this is really a two man job (In our case a 1 man, 1 woman job . . .)
Scroll down to the photos for a bit of context for the following instructions.
Get a good fire going, I prefer using a good hardwood. If you want to cheat, you can use those fancy charcoal brick thingys. Point being to get a good bed of coals going while you prep the bird.
Before you get your hands messy, take a handful of wood chips and sprinkle them on the bottom of the dry potjie. Place the foil pie dish on top of the chips, now wash your hands well and get that chicken.
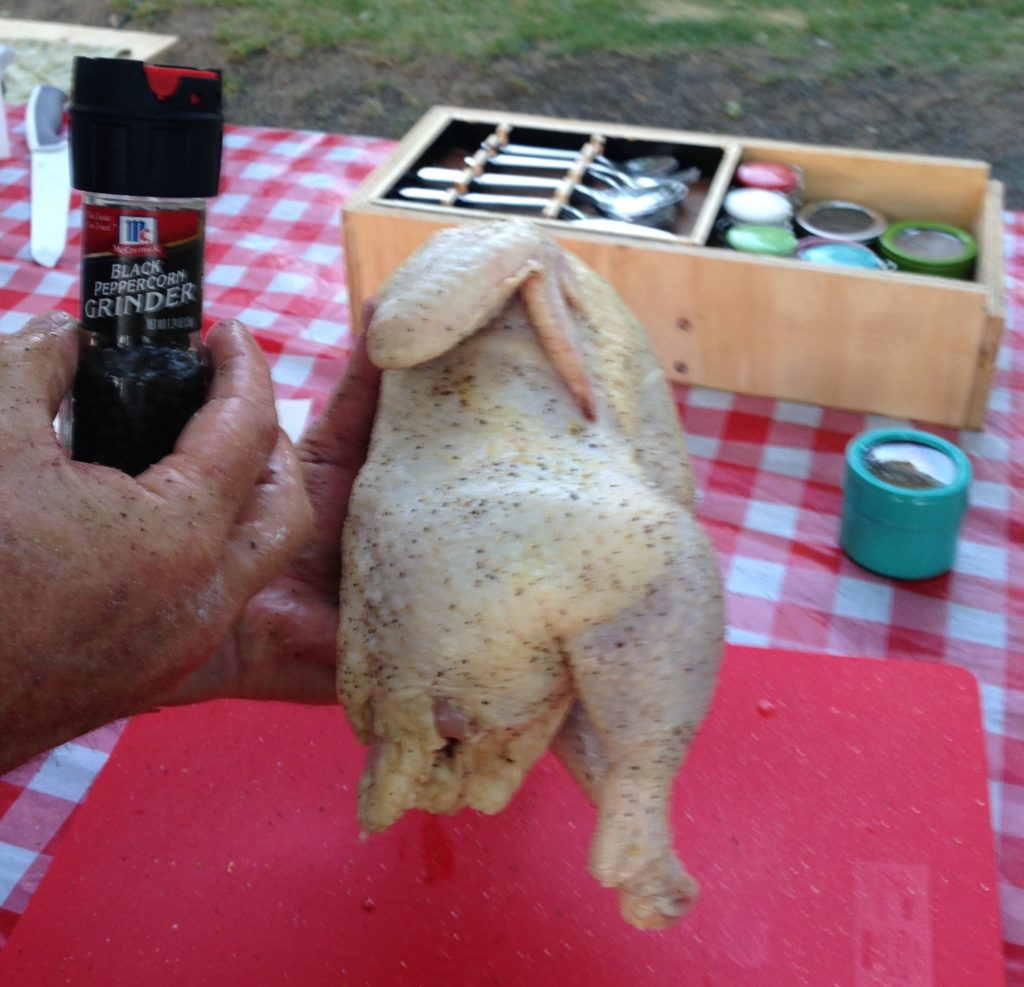
Cook #1 holds the chicken and spreads the olive oil which is poured slowly by cook #2. Cover the whole chicken lightly with oil and then cook #2 sprinkles salt & pepper/spice rub etc covering the whole chicken evenly. Done.
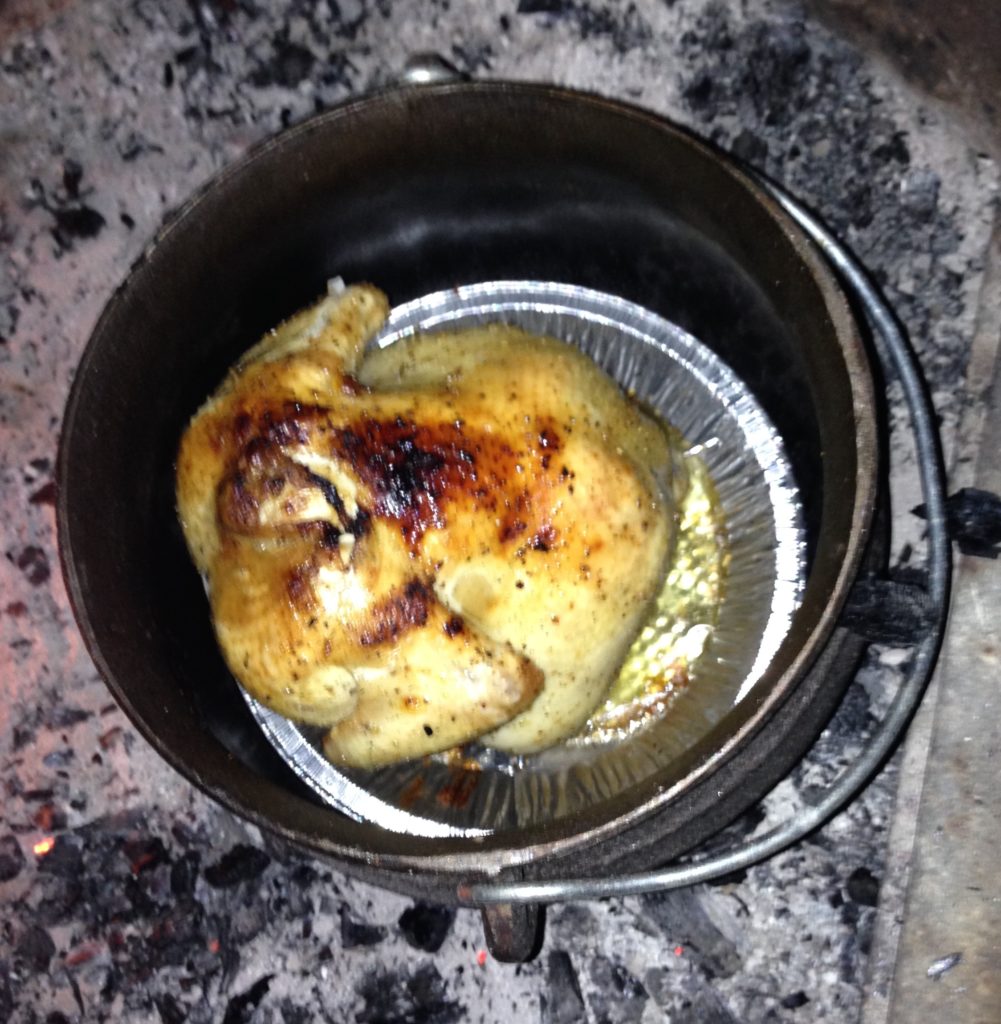
Now ask cook #2 very nicely to fill the stainless steel cup with beer and carefully place the chicken over the cup and wire frame. Lower the whole bundle carefully into the potjie. The chicken should stand upright on the beer cup and wire frame on the foil plate without touching the sides of the pot. The foil plate is to catch any drippings or wet stuff that would interfere with the wood chips and production of smoke. And a quick word about cleaning – here is one of those times I may be found to use a little soap when cleaning the pot afterwards. It is important to make sure you get all the charred wood out of the pot so that it does not taint the next potjie you make. If you clean too vigorously, it may be necessary to cure the pot again before the next use, check out curing instructions back here.
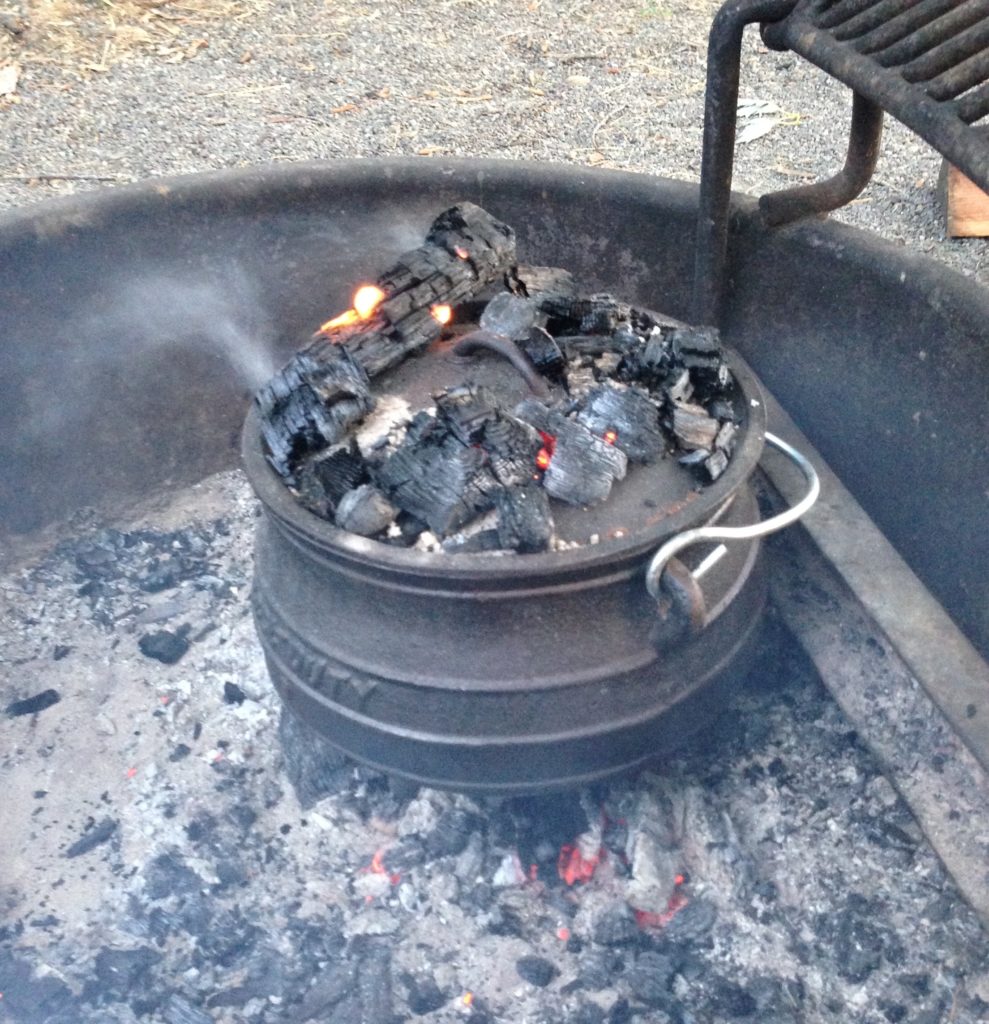
Wash that mess off your hands now and get a shovel. Dig out a good shovel full of coals and place on a nice level bit of ground near the fire. Very carefully so as not to tip the chicken over, place the pot over the shovel full of coals and settle it firmly. Take a half shovel or so of coals and spread them on the lid of the pot. This is one of those things that you have to get a feel for with a bit of experimentation. Try not to get too much heat around the pot as it will then char without cooking properly and will allow less time for smoking. Depending on the amount of coals and the heat level, allow the bird to roast for 45 minutes to an hour.
A tip: If you feel the need to check on the chicken and perhaps poke it with a knife to see if it’s done, remember the coals and ash on the lid. Ash on the bird tends to put some people off.
Once done, getting the bird out of the pot can be a bit ticklish, careful, it’s hot. I use either a couple large serving forks jabbed in from either side, or a couple pairs of tongs. Remove the bird and place on the carving board or serving dish.
If you get it right, you have a lovely, moist, fall-off-the-bones chicken with a subtle hint of smoke. Enjoy but watch out for the raccoons . . .


